
If you are looking for router screenshots, click here.
We have the largest collection of router screenshots on the Internet.
Contributing screenshots of your router.
I'm going to break this guide into six parts:
Part 1: General instructions on logging into the web interface of your router.
Part 2: Changing the resolution of your screen.
Part 3: Taking Screenshots.
Part 4: Uploading screenshots to PortForward.
Part 5: Which menus should you take screenshots of?
Part 6: How to take a screenshot on a Mac OS X 10.4.
Part 1: Logging into the web interface of your router.
Step 1:
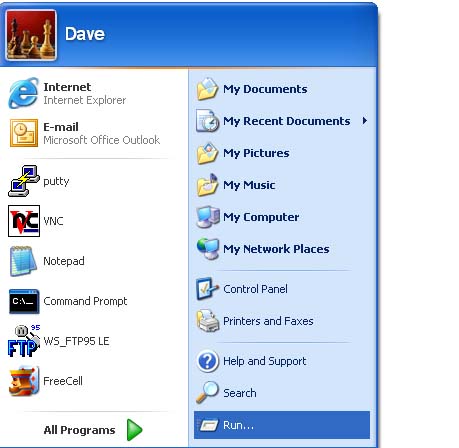
Click the Start button which is usually in the lower left hand corner of your screen. This will bring up your start menu. Click Run. Clicking run will bring up the following window.
Step 2:
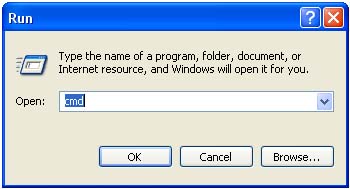
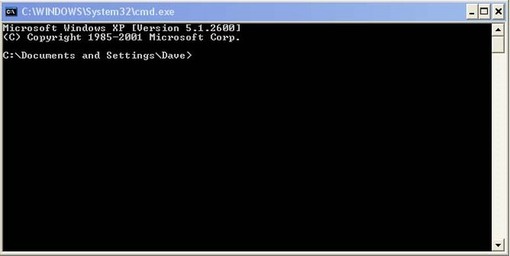
In the Open box type cmd and click Ok. If that returns an error message try typing command into the open box. Click Ok again to open the command prompt window. Once you have successfully done that, you should see the following window.
Step 4:
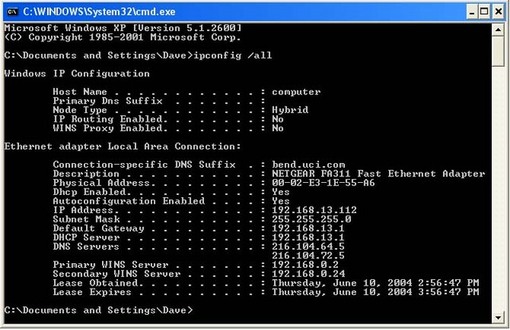
In this new window type ipconfig /all. You should now something like the following output.
Step 5:
We are really looking for the Default Gateway that was displayed in that window. The default gateway should be the internal ip address of your router. My default gateway as shown above is 192.168.13.1. When you find your default gateway write it down. We will use it in just a bit. Go ahead and close the command prompt window. Then open your a web browser of your choice. I'll use Internet Explorer, because it comes with every windows computer.
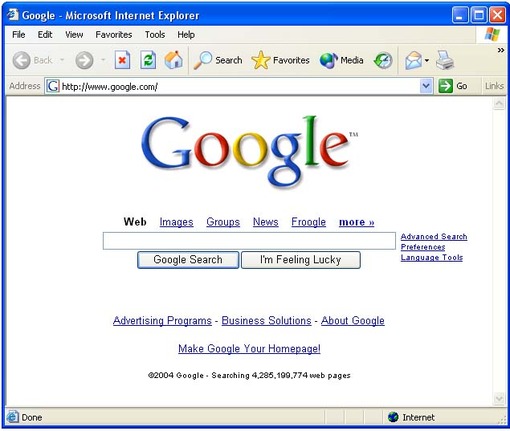
Step 6:
Enter your default gateway into the address portion of your web browser. The screenshot above currently has http://www.google.com in the address bar. So just remove all of that and enter the number that we found to be your default gateway. Press the Enter key to open your routers interface.
Step 7:
Now is the tough part. You might be prompted for a username and a password. I'm not sure what these will be, because I don't know what type of router you have. You can find them in your router's manual. They should also be available at the manufacture's website.
Part 2: Changing the resolution of your screen.
Step 1:
If you can not see the entire page of your routers web interface, please change your screen resolution. It is really easy change the resolution of your screen. Right click your desktop. Don't right click an icon, just the picture behind the icons. You should see something like the following menu.
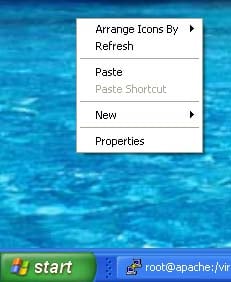
Step 2:
Left clicking Properties should bring up the window below.
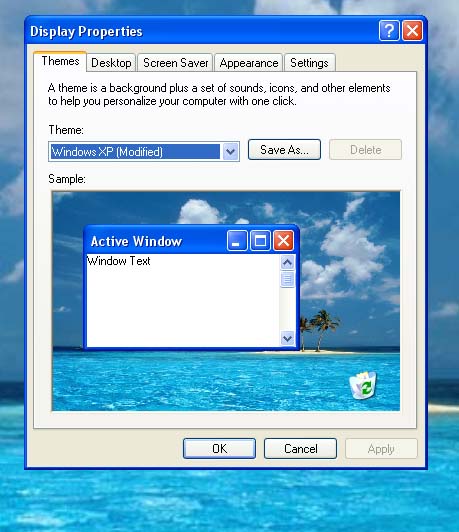
Step 3:
Click the Settings tab at the top of your screen.
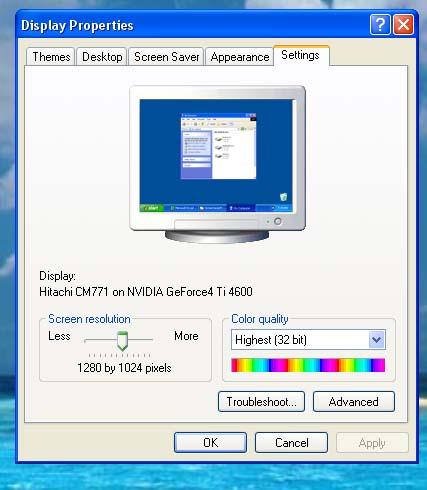
Step 4:
At the bottom of this screen there is a Screen Resolution slider bar. Slide it to the right to up the resolution of your screen. Remember you can always change it back later. Your screen should flicker and you will be asked if you want to keep this setting. Click the Yes button. Go ahead and take your screenshots and then change back your resolution if you do not like it like that.
Part 3: Taking screenshots.
Step 1:
Taking screenshots is very easy. Open the page that you want to take a screenshot of and press the PrtScn/SysRq button. This will take a picture of what you are looking at. You might wonder if it took a picture, where is the picture at? Well right now it is being stored in memory.
Step 2:
Click Start to open up the start menu. Click on Programs and then Accessories. In that menu somewhere click Paint.

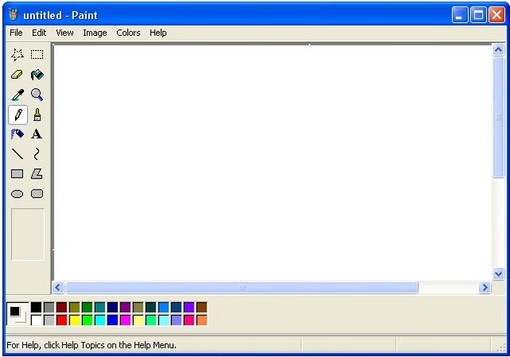
Step 3:
In the menu at the top of the paint program click Edit and then Paste in the menu that dropped down.
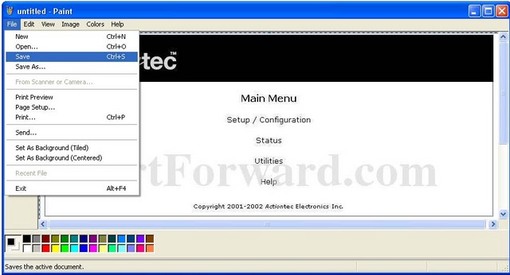
Step 4:
You should now see the image that you took a picture of! In the menu at the top of the paint program click File and then Save.

Step 5:
Pick a place to save the file using the Save in drop down box. Make sure you remember where it is! Enter a name for the picture you are saving in the filename box. Usually a good name describes the window you are taking a picture of. Use the Save as type drop down box to select jpg or png. Do not just change the name of the file to jpg. That will not work, you need to change the save as type box to get it to save properly. Then click the Save button to save the picture.
Part 4: Uploading screenshots to PortForward.com.
Use our Network Utilities software to upload screenshots to our site.
Part 5: Which menus should you take screenshots of?
Routers describe things in many different ways. I'm going to list some common things to take screenshots of. I need screenshots of every area you go through to get to these areas. I also need screenshot of every window you can get to from these areas. Most likely your router will have several of these areas.
Firewall Pages
Port Forwarding Pages
Port Triggering Pages
Virtual Server Pages
NAT(Network Address Translation) Pages
Special Application Pages
Port Filter Pages
NAPT Pages
I need a picture of every window you can open up from these pages by clicking an add or next button. When in doubt take a screenshots of it. As a general rule of thumb, the more screenshots you take the quicker your guide will be written.
Part 6: How to take a screenshot on Mac OS X 10.4.
Taking a screenshot on a mac is very simple. Just hold down Command Shift and then push 3. After a couple seconds, you should see a new file appear on your desktop. Usually they are called something like Picture 1. On my Mac it took the screenshots about 15 seconds to appear. So give them a bit of time.


