
Adding a program to the Windows XP Service Pack 2 firewall.
Before we begin with this configuration, I want to say a couple things about this guide. This is not the guide for forwarding or opening ports through your firewall. This guide is to allow programs which do not require forwarded ports to access the internet. Usually if you open a program that does not require forwarded ports but uses the internet, a windows security alert will pop up. This alert will look just like this.

If you click the unblock button on this message, the program you were trying to add will automatically be added to the firewall exceptions section of the windows firewall. Then you can begin using it. This guide tells you how to add a program to the exceptions section of the windows firewall by hand. The guide also explores the scope function of the windows firewall.
Step 1:
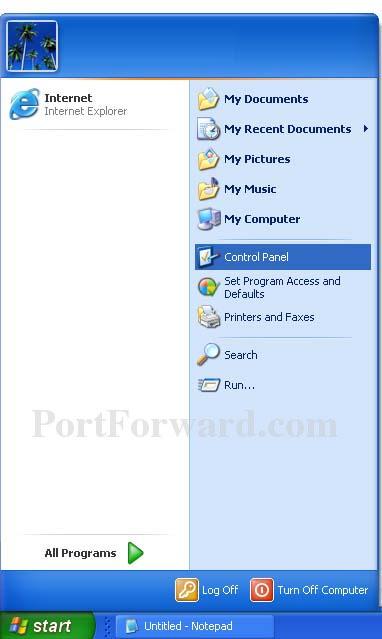
Click the Start button to open the start menu. On the start menu click the Control Panel button. Which should bring you to the control panel.
Step 2:
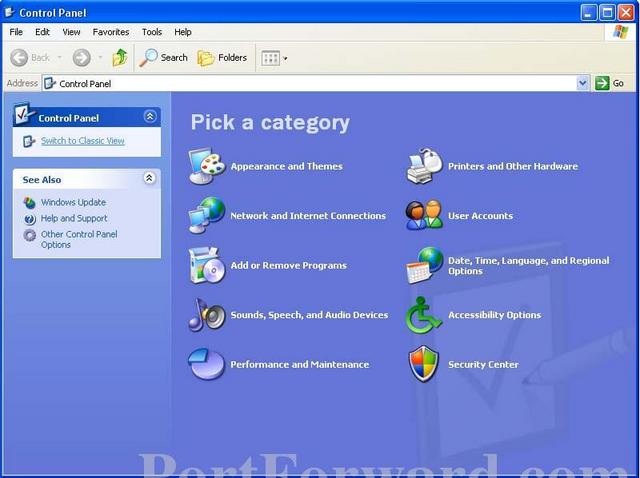
In the upper left hand corner of this screen click the Switch to Classic View link. Your control panel should now look something like the following screenshot.
Step 3:
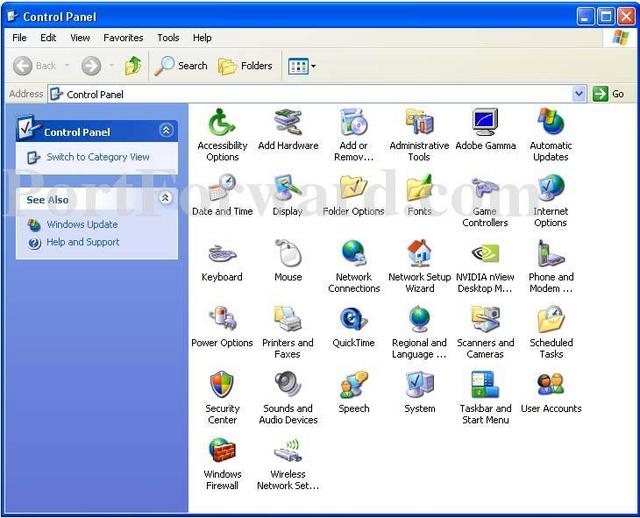
Double click the Windows Firewall icon to open the properties of your windows firewall.
Step 4:
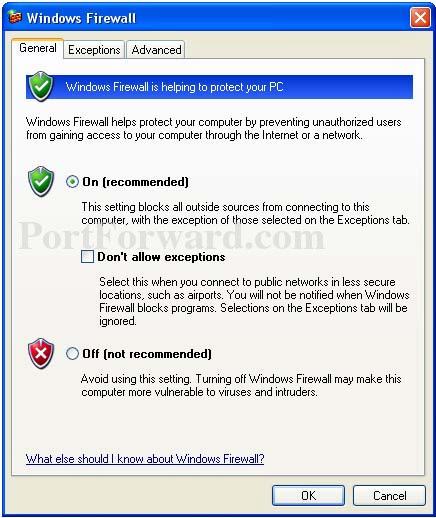
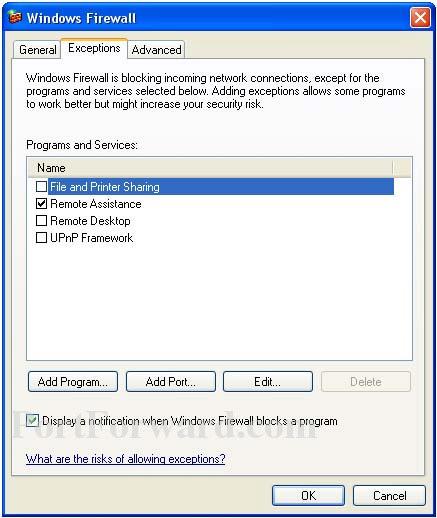
If the firewall is on, you will see a green dot in the On radio button. Make sure the Don't allow exceptions box is unchecked. Then click the Exceptions tab at the top of your screen.
Step 5:
You will probably see some common programs in the Program and Services box. If the program you want allow to connect to the internet is already listed, put a checkmark in it's checkbox. Then click Ok at the bottom of your screen to save your settings. If you did not see the program to allow through the firewall, click the Add Program... button at the bottom of the screen.
Step 6:
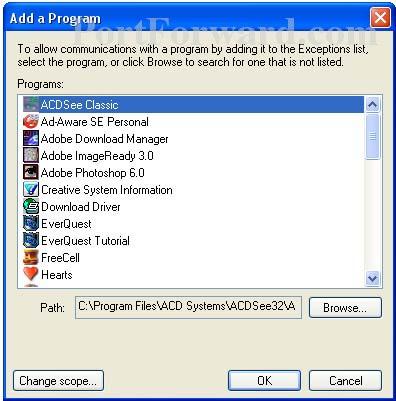
You will see a large list of installed programs here. If you see the one you want, click it. If you did not see the one you want, use the Browse button to locate the program you want to add. Note that there is also a Change Scope button at the bottom of this page. Go ahead and click it now.
Step 7:
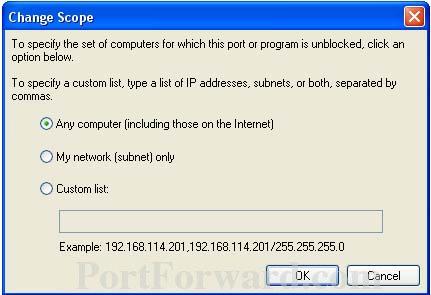
The change scope button allows you to set which ip addresses can transmit information to this program. You can set it to let this program communicate with any computer on the internet. It can also be set to communicate with any computer on your network, but never a computer outside of your network. If you really want to be specific, you can list the ip addresses to allow this computer to talk with. The ip addresses would be listed one at a time separated by commas. When you are finished with this choice, click the Ok button at the bottom of your screen.
Step 8:
Once again click the Ok button at the bottom of the screen. You should now be back at the exceptions window.
Step 9:
Make sure the program you were adding has a check mark in it's checkbox. Then click the Ok button at the bottom of the screen to finish this configuration.


